A fresh coat of paint can completely transform your home’s appearance, boosting its curb appeal and value. But for that beautiful new finish to last, proper preparation is key. This is especially true in Florida, where the intense sun, high humidity, and frequent rain can quickly ruin a poorly done paint job. Taking the time to prep your Tampa home’s exterior for painting ensures the paint will adhere correctly and stand up to our unique climate. We’ll walk you through the essential steps to get your home ready for a flawless, long-lasting finish.
Read also: Protect Your Tampa Home: Why Exterior Painting Matters
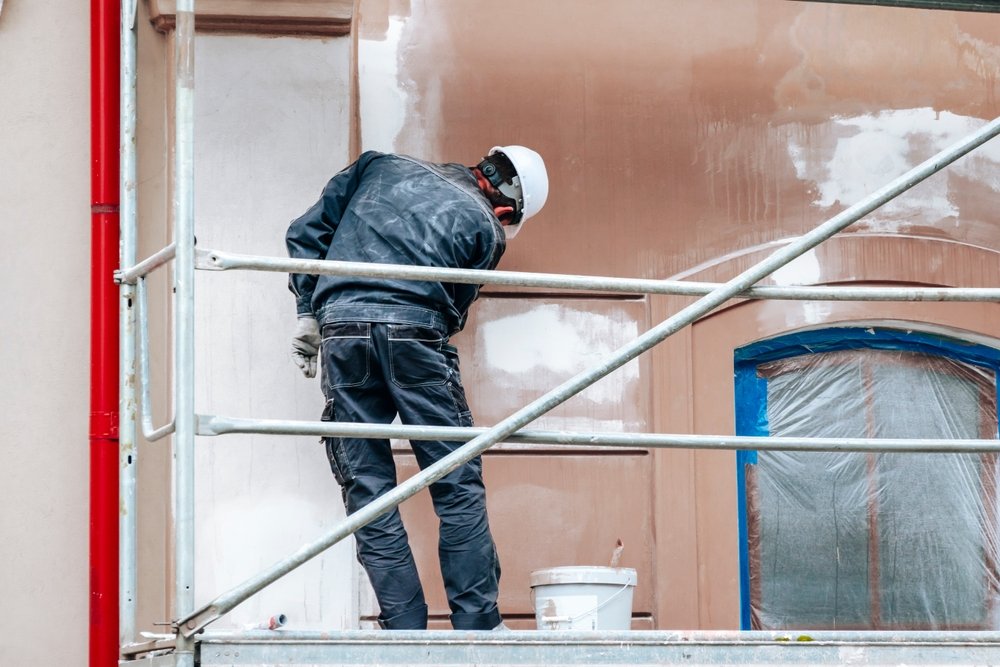
Step 1: Clean the Exterior Surfaces
Before you even think about opening a can of paint, your home’s exterior needs a thorough cleaning. Over time, surfaces collect dirt, pollen, chalky residue, and even mildew. Painting over these contaminants will cause the new paint to chip, peel, and fail prematurely. A clean surface is the foundation of a durable paint job.
Pressure Washing for Tampa Homes
Pressure washing is the most effective way to blast away years of grime from your siding, brick, or stucco. It quickly removes dirt and loose debris, creating a perfect canvas for paint. For Tampa homes, a low-to-medium pressure setting is usually enough. Using too much pressure can damage siding, force water behind panels, or etch brick and concrete, so it’s important to use the right technique.
Removing Dirt, Mold, and Mildew
The humid Tampa climate is a breeding ground for mold and mildew, which often appear as green or black spots on your siding, especially on the north side of your home or in shaded areas. Simply painting over them won’t solve the problem; they will grow right through the new paint. To remove them effectively, use a cleaning solution made of water and a mildewcide cleaner. Apply the solution, let it sit for a few minutes to kill the organisms, and then rinse it away with the pressure washer.
Step 2: Inspect and Repair Damaged Areas
With the surfaces clean, it’s time to perform a detailed inspection of your home’s exterior. This is a critical step that prevents small issues from becoming major problems later. Look closely at all surfaces, paying special attention to areas that are prone to weather damage.
Checking for Cracks, Rot, or Peeling Paint
Walk around your home and look for any signs of damage. Check for cracked or warped siding, soft spots that could indicate wood rot, and areas where old paint is peeling, bubbling, or flaking. Pay close attention to window sills, door frames, and corner trim, as these spots are often the first to show wear. Make a note of every imperfection you find.
Fixing Siding, Trim, and Wood Damage
Once you’ve identified all the damaged areas, you can begin repairs. Small cracks in siding or stucco can be filled with an appropriate exterior-grade filler. If you find sections of rotted wood, they must be completely removed and replaced. Simply painting over rot will trap moisture and allow the decay to spread. Secure any loose siding panels and replace any that are broken or severely damaged.
Read also: Exterior Painting Tips for Tampa’s Humid Climate
Step 3: Sanding and Scraping Old Paint
After your repairs are complete, the next step is to create a smooth, uniform surface for the new paint. This involves getting rid of any remaining loose paint and roughing up glossy surfaces so the new primer and paint can grip effectively.
Preparing Surfaces for Better Paint Adhesion
Using a paint scraper or putty knife, carefully remove any peeling or flaking paint that the pressure washer didn’t dislodge. The goal is to get rid of anything that could prevent the new coat from bonding directly to the stable surface underneath. After scraping, use a sander to feather the edges where the old paint meets the bare surface. This will prevent unsightly lines from showing through your new paint job.
Tips for a Smooth Finish
For the best results, use medium-grit sandpaper (80- to 120-grit) for most surfaces. If you’re dealing with a glossy old paint finish, lightly sanding the entire surface will scuff it up, which helps the new primer and paint adhere much better. Remember to wear a dust mask and safety glasses during this step, as paint dust can be harmful if inhaled.
Step 4: Caulking and Sealing Gaps
Caulking is an essential but often overlooked step in exterior prep. It involves sealing the small gaps and cracks between different building materials, such as where trim meets siding or around windows and doors.
Prevent Water Damage and Energy Loss
Those small gaps around your windows, doors, and trim are entry points for moisture. In Tampa’s rainy season, water can seep into these cracks and cause wood rot, mold growth, and structural damage over time. Sealing them with a high-quality, paintable exterior caulk prevents water intrusion. As an added benefit, sealing these air leaks can also make your home more energy-efficient, reducing cooling costs.
Ensuring a Professional Finish
Applying a clean, consistent bead of caulk creates seamless transitions between surfaces. This not only protects your home but also gives the final paint job a sharp, professional look. Once the caulk is applied, smooth the bead with a damp finger or caulking tool for a clean line. Make sure the caulk is fully cured before you start painting.
Step 5: Protecting Surrounding Areas
You’re almost ready to paint. The final preparation step is to protect all the areas you don’t want to get paint on. A little time spent here will save you hours of cleanup later and ensure your project looks neat and tidy.
Covering Plants, Walkways, and Outdoor Furniture
Use plastic sheeting or lightweight drop cloths to cover shrubs, flower beds, and any other landscaping near your home’s foundation. Move patio furniture, grills, and potted plants away from the work area. For walkways, driveways, and patios, use heavy-duty canvas or plastic drop cloths to protect them from drips and splatters.
Using Drop Cloths and Tape for Clean Edges
Mask off windows, light fixtures, door hardware, and anything else you can’t remove. Use painter’s tape to create crisp, clean lines along the edges of trim and other surfaces. Press the tape down firmly to prevent paint from bleeding underneath. This attention to detail is what separates an amateur paint job from a professional one.
Read also: Boost Your Curb Appeal with Tampa Exterior Painting
Why Hire House Painters Tampa, FL for Exterior Prep
Properly prepping your Tampa home’s exterior for painting is a lot of work. It requires time, the right tools, and a good understanding of how to handle common issues like wood rot and mildew. If the process seems overwhelming, let the experts at House Painters Tampa, FL handle it for you.
As a licensed, bonded, and insured family-owned business, we have the professional experience to get the job done right. We understand how Tampa’s weather affects different surfaces and use proven techniques to ensure your paint job is beautiful and durable. We handle every step of the process, from pressure washing and repairs to the final coat of paint, so you can relax and enjoy your newly transformed home.
Schedule a Free Estimate Today to learn how our team can give your home the flawless, long-lasting finish it deserves.


